Here we will cover everything you need to know about of how to approach your first site visit analysis for a new project, what to do when physically there, and how to eventuate and summarize the information you collect.
However before visiting for the first time we highly recommend that you carry out desktop study beforehand, as this will provide an important initial understanding of the site and generate far better results and more refined questions once there.
The desktop study will also help to identify the important items of equipment that you will need to take with you to make your trip as successful as possible. …these are mentioned below but may include a:
- Site map (very important)
- Note pad
- Camera
- Pen/pencil
- Tape measure
- Laser distance meter
…more essential architects items here

Conducting an architecture site visit analysis
A site visit analysis is a comprehensive report that summarizes the findings of a physical inspection of a potential development site. It includes information on the site’s physical characteristics, location, surrounding area, demographic information, environmental impact, zoning regulations, traffic flow, and recommendations for development.
The report synthesizes all gathered information to provide a comprehensive understanding of the site and its potential.
What to look for?
Once there, there are a whole number of important areas and items that need to be studied and recorded, some of which would have already been identified during your desktop study, but as a starting point we’ve produced the below list of all the key areas:
We suggest that you take these with you and tick them off as they are found, so not to miss anything.
- Entrance and access points (both pedestrian and vehicle)
- Security (gates, surveillance)
- Travelling to the site (road types and suitability, safety, public transport)
- Boundary treatment (fencing, vegetation, land form, water)
- Extent of boundary (does it match the survey/OS map)
- Circulation (existing travel routes within the site)
- Noise levels (quiet and loud areas)
- Services (electric, gas, water, sewage)
- Existing buildings (condition? Relevant? Protected?)
- Existing landscape features (condition? Relevant? Protected?)
- Neighbouring buildings (local vernacular, protected?)
- Views in and out of the site (areas to screen off and areas to draw attention to)
- Tree’s and vegetation (protected and rare species)
- Ecology (any areas likely to be home to protected species)
- Orientation (sun and wind paths)
- Light levels (areas in direct sunlight, shaded areas, dappled light)
- Accessibility (disability access)
- Surrounding context (historical, heritage, conservation area, SSSI, AONB)
- Existing materials in and around the site
- Topography (site levels)
- Flood level (is it likely to flood)
- Soil and ground conditions (types and suitability)
- Existing legal agreements (where are the rights of way, covenants)
- Hazards (Electricity lines, Drainage, Telephone lines, Sub-stations)
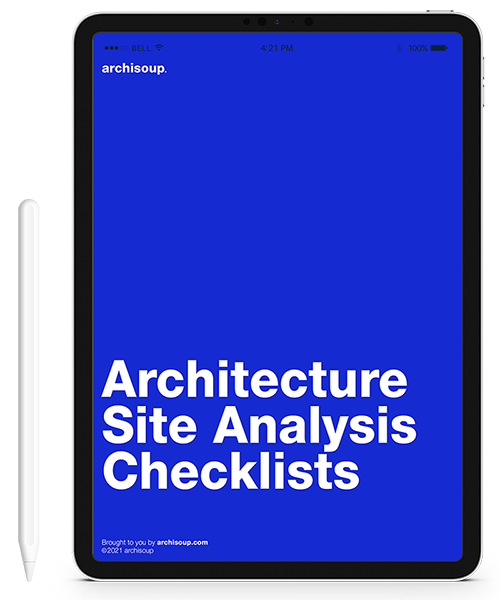
We provide a site analysis checklist here covering all of the above that’s free to download.

Where to start
You want to begin documenting your visit as soon as you arrive, as the approach and entrance to your site are just as important as the site itself. If you’re desktop study didn’t highlight the possible routes and methods of transport to and from the site, then this needs to be recorded also.
Documenting your first impressions is vitally important, ask yourself; what do you see as you enter the site? what do you hear? what do you feel? (…what senses are the first to be triggered), you will only get one chance to do this properly and so you need to make it count!
…and don’t forget to include the location of the elements you record, when noting it down on your site map or survey. By the end of your visit, you should barley be able to read whats under all your notes …write down everything!
Moving on from first impressions, you should plan to walk around the site as least twice (as a minimum) to ensure that nothing is missed, so leave enough time to make a least two loops, noting down and photographing everything that you feel is relevant, no matter how small.
…there’s nothing worse than getting back to the studio and realizing you forgot to document something.
We like to use the check list supplied above and:
- Firstly walk around the site whilst annotating a site plan
- Secondly with a camera …photographing everything
- and thirdly with both …just in case something has been missed
This way we can focus on one task at a time, helping to ensure we gather everything we need.
In terms of a camera, and depending on your budget we suggest looking one these three options (but a phone is just as good):
- – £100
- -£200
- -£300
It can be difficult to identify certain elements, and some may only be noticeable from a professional survey, such as underground services and precise spot levels. But approximations of such locations and heights are a good start and can serve as a reminder for further investigation.
If accessible you can of course take your own measurements and so this is where a tape measure and/or distance meter will come in handy.
Try one of these:
What to take with you
Firstly look at the weather, you wont have a good time if your not dressed appropriately, and this applies to protecting your notes and equipment as well as yourself.
…a simple quick check, can make or break a visit, arranging to go on sunny day will also give you the best site photographs, which could also be used in future CGI’s and presentation material.
If the site is derelict, or has potentially dangerous or hazardous elements, it is likely that you will require personal protection equipment (otherwise known as PPE) so make sure this is organised before setting off.
As a minimum you want to take with you a camera, a pen and an OS map. Google Maps can provide a temporary (though very basic) version, but a much preferred scaled version that can normally be obtained through your university or practice via such companies as:
- Digimap – digimap.edina.ac.uk
- Xero CAD – xerocad.co.uk
- CAD Mapper – cadmapper.com (free account available)
As mentioned, you will want to make notes, and record everything you observe, experience and hear all over this map. So print out a couple of copies at a usable and convenient size.

A camera is essential in documenting the site, and the pictures taken during your visit are likely to be used on a daily basis throughout your project. So once again make sure you document and record everything.
Pictures should be taken from all distances, close zoomed-in sections of materials and textures along with shots of the site from a distance to include the area as a whole and within its context.
Note pads are important for obvious reasons, we prefer an A5 sized pad, as this is much easier to carry and hold than an A4 one.
Tape measures can be useful, but we never go on a site visit without a distance meter.
…and lastly if you’re visiting on your own, don’t forget to tell someone where you’ll be and take your phone with a charged battery.
Our site visit equipment check list looks something like this:
- Weather check
- Print out our “what to look for” checklist
- Site map (at least 2 copies)
- PPE equipment
- Camera
- Note pad
- Pen/pencil
- Tape measure
- Laser distance meter
- Scale ruler
- Phone
If you are interested in trying our architecture site analysis symbols for your own site analysis recordings and presentation, then head over to our shop (Here).
FAQ’s about site visit analysis
What is included in a site analysis?
As discussed above, site analysis typically includes the following elements:
- Site location and context: Understanding the location of the site in relation to the surrounding area, including climate, topography, neighboring buildings, and accessibility.
- Physical characteristics: Examining the site’s physical features, such as its size, shape, soil type, vegetation, and water sources.
- Utilities and infrastructure: Assessing the availability of utilities such as electricity, water, gas, and sewer, as well as the infrastructure, such as roads and transportation.
- Environmental considerations: Analyzing the site’s potential environmental impact and assessing any potential hazards, such as flooding or soil stability.
- Zoning and land-use regulations: Reviewing the local zoning and land-use regulations to determine the types of uses and development allowed on the site.
- Cultural and historical context: Examining the cultural and historical significance of the site and its surrounding area.
- Demographic information: Analyzing the demographic information of the surrounding area, including population, income, and age.
- Traffic and pedestrian flow: Studying the flow of vehicular and pedestrian traffic in the area to understand the impact on the site.
This information is used to inform the design of a building or development project, taking into account the unique characteristics and constraints of the site.
What are the steps of site analysis?
including the above, the steps involved in conducting a site analysis report typically include:
- Data Collection: Gather data and information about the site, including maps, aerial photos, zoning regulations, environmental reports, and other relevant documents.
- Site Observations: Conduct a site visit to observe and document the site’s physical and environmental conditions, such as topography, vegetation, water sources, and neighboring buildings.
- Context Analysis: Analyze the site’s location and context, including its surrounding area, access to transportation, and cultural and historical significance.
- Demographic Analysis: Study the demographic information of the surrounding area, including population, income, and age, to understand the potential market for the development project.
- Traffic and Pedestrian Flow Analysis: Study the flow of vehicular and pedestrian traffic in the area to understand the impact on the site.
- Synthesis: Synthesize the information gathered in the previous steps to develop a comprehensive understanding of the site and its potential.
- Recommendations: Based on the analysis, make recommendations for the development of the site, taking into account the unique characteristics and constraints of the site.
These steps help architects and planners to gain a deeper understanding of the site and to make informed decisions about the design and development of a building or project.